7 Toilet Stain Remover Tips: Expert Guides

toilet stain remover

Thinking about an effective toilet stain remover? Toilet stains can be stubborn and unsightly, but with the right approach, you can restore your toilet’s pristine appearance. This expert guide will share ten practical tips for removing toilet stains. These methods work and will help you achieve a sparkling clean toilet. Read on to discover the best ways to tackle toilet stains!

Here Are Some Tips To Remove Stubborn Toilet Stain:

  1. Regular Cleaning

The first step to preventing and removing toilet stains is regular cleaning. Use a toilet brush and a mild cleaner to scrub the bowl at least once a week. This routine maintenance will help prevent stains from becoming deeply embedded, making future stain-removal efforts easier.

2.  Baking Soda and Vinegar

One of the most influential and natural toilet stain removers is a mixture of baking soda and vinegar. Sprinkle baking soda around the inside of the bowl, then pour vinegar over it. Let it sit for a few minutes, scrub it with a toilet brush, and flush it. This combination creates a foaming action that helps break down stains and eliminates odour.

3. Lemon Juice

Lemon juice is another excellent natural cleaner for toilet stains. Squeeze fresh lemon juice into the toilet bowl and let it sit for about 30 minutes. The acidic properties of lemon juice work wonders in dissolving stains. Afterwards, scrub the bowl with a brush and flush. Enjoy a fresh-smelling and stain-free toilet!

4. Borax Paste

Borax is a versatile cleaning agent that can also use as a toilet stain remover. Make a paste by mixing borax with a small amount of water. Apply the paste to the stained areas of the toilet bowl, let it sit for a while, and then scrub thoroughly. The abrasive nature of borax, combined with its stain-fighting properties, makes it an effective toilet stain remover.

5. Commercial Toilet Cleaners

There are numerous commercial toilet cleaners available on the market that are specifically formulated to remove stubborn stains. Look for products that mention stain removal or have acidic properties. Follow the instructions on the packaging and then apply the cleaner to the stains, and let it sit for the recommended time before scrubbing and flushing.

6. Hydrogen Peroxide

Hydrogen peroxide is a powerful and effective cleaner for eliminating toilet stains. Pour a small amount of hydrogen peroxide into the bowl and let it sit for around 20 minutes. The peroxide will work to break down the stains. Scrub the bowl with a brush, paying extra attention to the stained areas, and then flush the toilet.

7. Preventive Measures

To maintain a stain-free toilet, consider implementing preventive measures. Avoid using harsh chemicals or abrasive cleaners that can cause stains. Regularly inspect your toilet’s water supply to ensure there are no leaks. Finally, encourage household members to promptly address any spills or stains to minimize the chances of them spreading and becoming harder to remove. It is equally important to keep the toilet stain free.

Conclusion:

With these ten expert tips, you can effectively work as a toilet stain remover and restore your toilet’s cleanliness. Whether you prefer natural remedies or commercial cleaners, there is a solution for every stain. Remember to incorporate regular cleaning and preventive measures to keep your toilet looking spotless. Say goodbye to toilet stains and enjoy a fresh and hygienic bathroom experience.

Home Plumbing Priorities Before You Leave For Vacation

home plumbing

Home plumbing is also a concern when you leave for vacation, apart from other things. The plumbing system is one area that is frequently disregarded. Before departing, failing to maintain the plumbing system might result in unforeseen issues and significant water damage.

So, we’ve compiled a list of things you can do to prepare your home’s plumbing before you go on vacation. This checklist can help you avoid returning to a plumbing crisis in the future.

Here are the top home plumbing concerns you should take care of before leaving:

  • Insulate Exposed Pipes:

It’s critical to prevent your pipes from freezing if you’re on winter vacation. To stop exposed pipes from freezing and bursting owing to cold weather, insulate them with foam wraps or heat tape. Pay close attention to pipes in unheated locations like crawl spaces, attics, or basements.

  • Activate vacation mode on the water heater:

In most contemporary water heaters, you may turn on a vacation or “away” mode. The water heater’s temperature is lowered by this feature, which lowers energy usage while you’re gone.

  • Test and Maintain Pump:

A sump pump is essential to your home plumbing system if your home has a basement or is vulnerable to floods. Check the functionality of your sump pump before departing on vacation. Fill the sump pit with water to start the pump, then check whether it works properly when removing water.

  • Clear Clogged Drains:

Taking care of any clogged drains in your house before leaving. Overflows or backups caused by slow or blocked drains can result in serious harm and discomfort. To remove buildup, use a natural drain cleaner, a plunger, or a drain snake.

  • Have a Professional Plumbing Inspection:

It is strongly advised that you schedule a professional plumbing inspection before departing if you are unsure of the state of your home plumbing system or have experienced repeated problems. A professional plumber can find any possible issues. You may have peace of mind knowing that your plumbing is in excellent condition.

  • Think About Water Heater Maintenance:

It’s a good idea to get your water heater serviced before you go on vacation if it needs maintenance or is near the end of its useful life. A plumber may do a tank flush, check the heating components, and make sure your water heater is functioning at its best.

Conclusion

Before leaving on vacation, take care of your home plumbing to prevent unpleasant surprises when you return. You may prevent plumbing emergencies by putting your water heater in vacation mode, turning off the water supply, checking your sump pump, cleaning clogged drains, insulating exposed pipes, and alerting a reliable neighbour.

What Is The Right Time To Replace Garbage Disposal?

replace garbage disposal

In today’s time, garbage disposals are a vital component in modern kitchens. Finding ways to accommodate the garbage efficiently and conveniently is essential to maintain stability in society. And garbage disposal can do that efficiently. Probably, that is the reason, it has made a permanent place in the modern kitchen to dispose of food waste. However, like all appliances, they have a limited lifespan and eventually need to be replaced. And like you and many other common people, they tend to forget to take care of their appliances. That is why, in this article, we are going to talk about signs before you replace garbage disposal

5 signs you need to replace your garbage disposal

Replace garbage disposal depending on the brand, the garbage disposal may show different signs. However, most of the appliances are the same. And taking the generalized machine under consideration, we are discussing the 5 signs of faulty garbage disposal.

1. Strange noises: 

If your garbage disposal is making unusual noises, such as grinding or humming, it is a sign that something is wrong. Grinding noises indicate worn-out blades, while the humming sound means an issue with the motor. However, the sounds can be from different issues as well. So, if you could not find the problem by yourself, ask a professional plumber to check your machine.

2. Slow drainage: 

If the water drainage slows down over time, it is a sign that your machine is facing some problems. The problem can be due to clogging. In most cases, you have to replace garbage disposal because of clogging due to the waste food reaching the reserved areas of the disposal units. If you face such an issue, you can try passing hot water through that place. Hot water dissolves the clogged part, clearing the appliance. However, if the problem persists, you better seek help from a professional plumber.

3. Foul odors: 

If you smell foul odors coming from your sink, it could be a sign that there is some issue with your garbage disposal. It can be due to clogged food or some other particles in your garbage disposal. This can be caused by inadequate cleaning or ill maintenance. As we said earlier, you can flush hot water through the drain to clean the appliance. So, if you still could not clean the appliance, ask your plumber to do it.

4. Leaks: 

If you notice water leaking, it’s time to replace garbage disposal. It means there is a leakage in the pipe or disposal unit. There can be many reasons. But, it is always better to ask your plumber to check, as it is difficult to change the parts by yourself without any help. In the worst case, you can end up damaging your garbage disposal by doing it yourself. 

5. Won’t turn on: 

If your garbage disposal does not turn on or stop abruptly, it is ruined. It can happen due to an electrical dispute or a problem with the motor. The switch can be faulty too. So, it can be for various reasons. However, it is very dangerous to operate by yourself. So, ask your appliance repair agency or a trusted plumber to take care of your machine. 

Conclusion

So, these are the few things you can check if you face any issues before you replace garbage disposal. Apart from that, it is always essential to keep your machine in check. Garbage disposal holds a significant function in the modern kitchen. And if the machines go on a break without any notice, the entire house will face unhealthy issues. So, if you face any issue with your appliance, get it checked right away. 

What’s The Best Way To Locate Local Plumbers Near Me?

Local Plumbers Near Me

One of the most important services in your house is plumbing. It is very crucial to find local plumbers near me to have proper repairs. Doing well can make your life easy and hassle-free; it can make your life hell if done poorly.

So, choosing the appropriate plumber is crucial, especially if you value your home’s belongings. The correct plumber can help you have the repairs you want without having to worry about paying inflated prices or getting charged for extras that aren’t essential. The ideal plumber to choose is dependable and trustworthy. Here are a few points you need to consider before choosing a plumber.

  • Background check must:

Verify their certifications and licenses.

Before making that first call, you might go online for evaluations of the plumbing contractor, as some locations might still need this. Just strike the plumber from your list if there are any unfavorable allegations or complaints. Also, you may confirm the company’s licensing status by looking up its licenses on its website and the local government’s list of registered plumbers.

  • Compare the cost:

Get quotes from at least three businesses

If you want competent and experienced plumbers, you must consider their cost. Obtaining quotations from at least three businesses to compare might be smart. Like many plumbers, some businesses provide their clients with reasonably reasonable pricing without sacrificing the caliber of the service.

  • Transparency:

You should be confirm that there has no hidden cost.

References should be made available as evidence of whether a firm has been around for a time. They shouldn’t withhold any information about the company or customer reviews. You may determine what to anticipate from their service by reading testimonials from prior clients.

  •  Location:

Always use a reputable plumbing expert.

Even if a contractor is skilled and located far away, never engage them. For instance, it is smart to select local plumbers near me. You are welcome to visit their work whenever you require simple communication. If there is an emergency, a local business will be able to contact you swiftly for assistance.

  • Warranty and insurance:

Always check their insurance and warranty

Your company’s property might be damaged by shoddy or poor craftsmanship. Nonetheless, they always insure them against such threats out of concern for their brand. The local plumber has to be ready and insured in case they cause harm to themselves or damage to your home.

·       Ask for reference:

Your friends and relatives may also be a terrific source of referrals for plumbers.

They might be able to recommend a tradesperson you can trust if they’ve dealt with similar problems in the past. Nevertheless, significant and powerful word-of-mouth referrals are still a valuable resource. A personal account is also a stronger argument-maker than a hyped-up advertisement that needs more supporting consumer feedback. Perhaps think about having your neighbors around for a cup of tea if you want to discover a local plumber. Find out whom they trust for plumbing installation and repair.

An excellent plumber is competent, reliable, and committed to his trade. Quality is of the highest importance for your comfort and safety, as well as that of your family. Make sure you do your homework on the plumbing businesses and choose carefully.

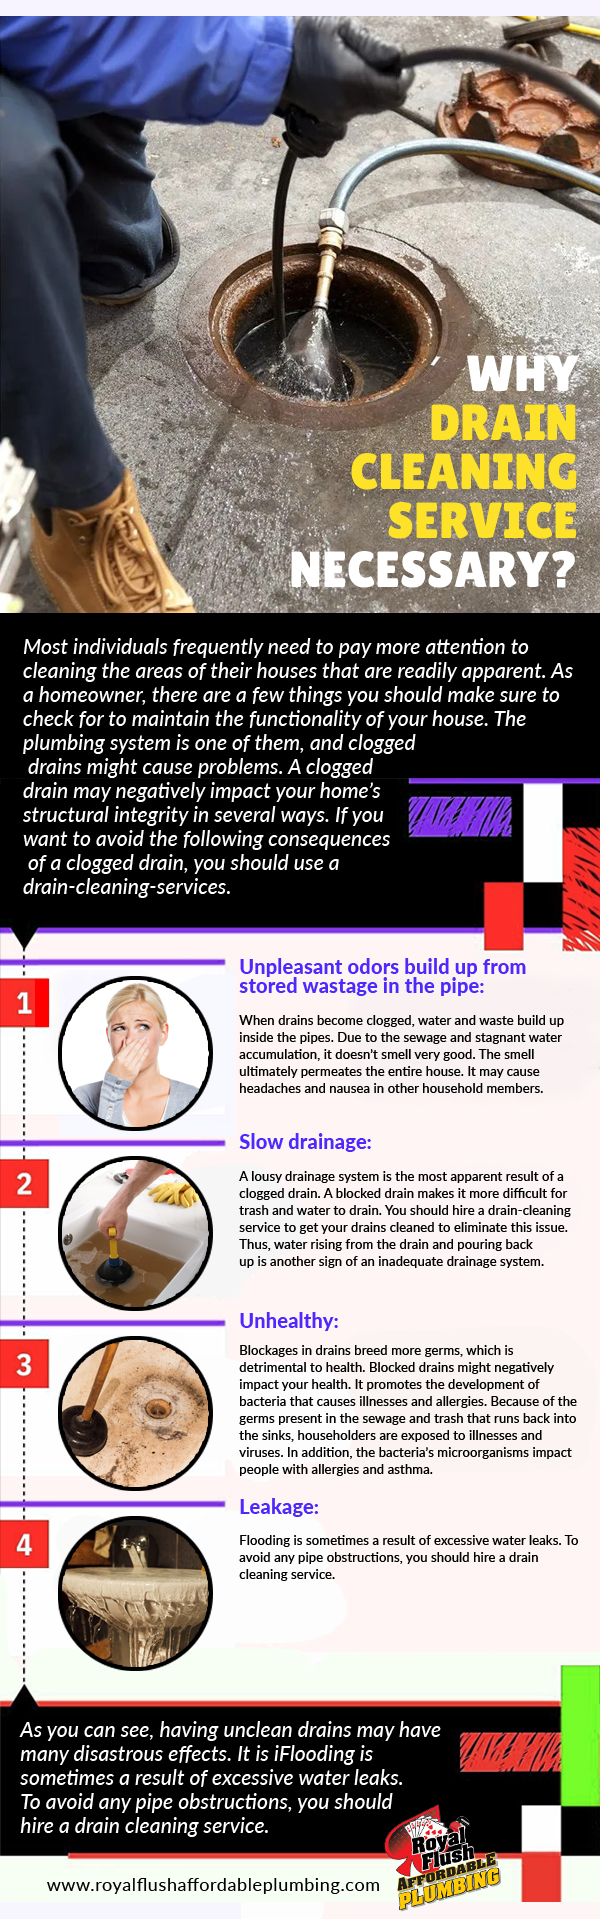
Why is drain-cleaning service necessary? Harmful effects of a clogged drain

drain cleaning service

Most individuals frequently need to pay more attention to cleaning the areas of their houses that are readily apparent. As a homeowner, there are a few things you should make sure to check for to maintain the functionality of your house. The plumbing system is one of them, and clogged drains might cause problems. A clogged drain may negatively impact your home’s structural integrity in several ways. If you want to avoid the following consequences of a clogged drain, you should use a drain-cleaning-service:

drain cleaning service
  • Bad smells:

Unpleasant odors build up from stored wastage in the pipe.

When drains become clogged, water and waste build up inside the pipes. Due to the sewage and stagnant water accumulation, it doesn’t smell very good. The smell ultimately permeates the entire house. It may cause headaches and nausea in other household members.

In other words, the moisture and water flow do not absorb the waste-related odor. Unpleasant odors are produced as a result of this.

Call a drain cleaning service to clean your pipes and remove the obstructions to prevent health hazards.

  • Slow drainage:

Due to blockage in the pipe, water clearance becomes slow

A lousy drainage system is the most apparent result of a clogged drain. A blocked drain makes it more difficult for trash and water to drain. You should hire a drain-cleaning service to get your drains cleaned to eliminate this issue. Thus, water rising from the drain and pouring back up is another sign of an inadequate drainage system.

  • Unhealthy:

Blockages in drains breed more germs, which is detrimental to health

Blocked drains might negatively impact your health. It promotes the development of bacteria that causes illnesses and allergies.

Because of the germs present in the sewage and trash that runs back into the sinks, householders are exposed to illnesses and viruses. In addition, the bacteria’s microorganisms impact people with allergies and asthma.

So, once your house is hygienic and for your family’s health, you should hire a drain cleaning service.

  • Leakage:

Due to inadequate water clearance, the leakage might have occurred

The pressure builds up in the pipes when there is an excessive buildup of water, which leads to the pipes bursting and leaking. The water seeps into your floors and walls, leaving water stains.

Flooding is sometimes a result of excessive water leaks. To avoid any pipe obstructions, you should hire a drain cleaning service.

As you can see, having unclean drains may have many disastrous effects. It is impossible to overestimate the significance of expert drain cleaning services. It will not only help maintain the health of your property but will also protect your plumbing system and eliminate odors.

What Will You Do if You Notice Your Water Heater Leaking?

Water-Heater-Leaking

[vc_row][vc_column][vc_column_text]Traditional water heaters are vulnerable to leaks, and the likelihood of leakage rises with time. Most water heater leaking is usually only minor problems that are simple to fix. On the other hand, if the problem is not addressed, it might become catastrophic and cause the tank’s contents to spill out. Therefore, it’s crucial to treat any leaks carefully since water heaters can be hazardous when they leak in specific places. But first, you need to know the reason behind the water heater leakage:[/vc_column_text][vc_single_image image=”8170″ img_size=”full” alignment=”center”][vc_custom_heading text=”The causes of your water heater’s leak” use_theme_fonts=”yes”][vc_column_text]Let’s start by examining the causes of water heater leaks. You won’t be surprised to learn that there are causes for water heater leaks.

· It’s possible for rust to build up in the tank of an old water heater, causing leaks. Water can escape via fractures as a result of corrosion, which is caused by this.

· Minerals build up and calcify on the glass over time. As a result, the glass breaks and starts to leak water.

· Old water heaters’ tanks can accumulate rust, leading to leaks. This leads to corrosion, which creates fissures that allow water to escape.

As you know the often reason behind the water heater leakage, now you are required to know what to do when you discover the water heater leaking. Here are the following points:[/vc_column_text][vc_custom_heading text=”Know the source:” font_container=”tag:h3|text_align:left” use_theme_fonts=”yes”][vc_column_text]

Identify the leak’s source.

You should attempt to locate the leak if you see water coming out of your heater or if there is standing water nearby. This is because some leaks are unimportant, while others may only require a pipe connection to be tightened.
Start by wiping off the tank and soaking up any water if you see a little leak. After that, you may check for leaks regularly.[/vc_column_text][vc_custom_heading text=”Cut the power:” font_container=”tag:h3|text_align:left” use_theme_fonts=”yes”][vc_column_text]

Turn off the water heater

Upon confirming the leak is coming from your water heater, shut off the electricity immediately. Your water heater should not be used while connected to a power source.
Find your circuit breaker and turn the water heater switch to OFF if you have an electric water heater. A gas water heater has an exclusive gas shutoff valve near the gas line at the bottom.[/vc_column_text][vc_custom_heading text=”Disconnect the water supply:” font_container=”tag:h3|text_align:left” use_theme_fonts=”yes”][vc_column_text]

It would be best if you stopped the flow of water to your water heater

Your water heater should have two pipes on top of it. In contrast to the other, one will feel warm to the touch. Some producers even mark them with paint or red and blue collars. The water supply line is the cold pipe. A shutdown valve on most water heater water supply pipes. Some water heaters may still need a shutdown valve on their water supply pipe, even though most have one.[/vc_column_text][vc_column_text]In conclusion, even the most fantastic water heaters can leak, yet, they can survive very long. Even if a water heater leaks, it may not require replacement. But you should take quick action to stop any leakage. Above mentioned points might help you take action.[/vc_column_text][/vc_column][/vc_row]

Five Signs You Need a Drain Camera Inspection Service

drain camera inspection

A sewer or drain camera inspection is among the methods professionals use to identify a sewer or drain issue. This plumbing procedure involves the use of a tiny waterproof camera, attached to the cable. The camera is equipped with a light source to ensure the plumber can get an excellent view of a sewer line or drain.

The camera’s tiny size permits it to penetrate deep into sewer and drain lines, allowing plumbers to detect or identify the issues described below.

drain camera inspection

The indication that You Need a Drain Camera Inspection

  • Smelling Bad Odour In Your Home:

The smell of gas from your sewer in the bathroom or other areas of your home could indicate that your sewer lines aren’t functioning correctly. Odor and gas from sewer lines are potentially dangerous and need to address it promptly.

  • High Water Levels:

If your water level is low one day and rising the next, could also be an indication of serious damage. Your pipes need to check by opting for a drain camera inspection to determine the cause.

  • Noticeable Slow Drainage:

A very apparent visible sign that you require the replacement of your sewer line or inspection is when you are experiencing a slow-draining sink or toilet. Slow draining of a sink or any other appliance is a typical household issue. Spotting it in multiple locations around your house may be an indication of damaged sewer lines.

  • Sewage Blockage:

Blockage can occur when sewer lines are completely blocked; as a consequence, the water is pushed into the sewer lines before it can be pumped then back to your residence. A thorough drain camera inspection is the most effective method to determine the root of the sewage obstruction.

  • A Septic Tank Overflow In Yard:

The most evident sign of a damaged sewer pipe is to find that septic water is accumulating in your yard. The septic tank that overflows in your backyard poses a health risk for your family members. It must deal with promptly.

Conclusion:

Dealing with sewer problems means potentially digging up your property. Still, with fast and efficient camera inspections, you can create a comprehensive picture of your sewer line without leaving any mess. If you need sewer line repair and replacement, top-notch camera inspections will help you identify the services your system requires.

5 Easy Ways, How To Clean The Clogged Drain Pipe Every Day

clogged drain pipe

Everyone from different age groups knows the importance of a working plumbing system. And people tend to invest both money and time to find the best solution to keep that working. So, it is necessary to know the common problems faced by people due to the wrecked plumbing system. And among that list, the top problem is the clogged drain pipe. 

But, how do you take care of your plumbing system? And how to clean a clogged drain pipe basement properly? We are going to share the tips one by one.

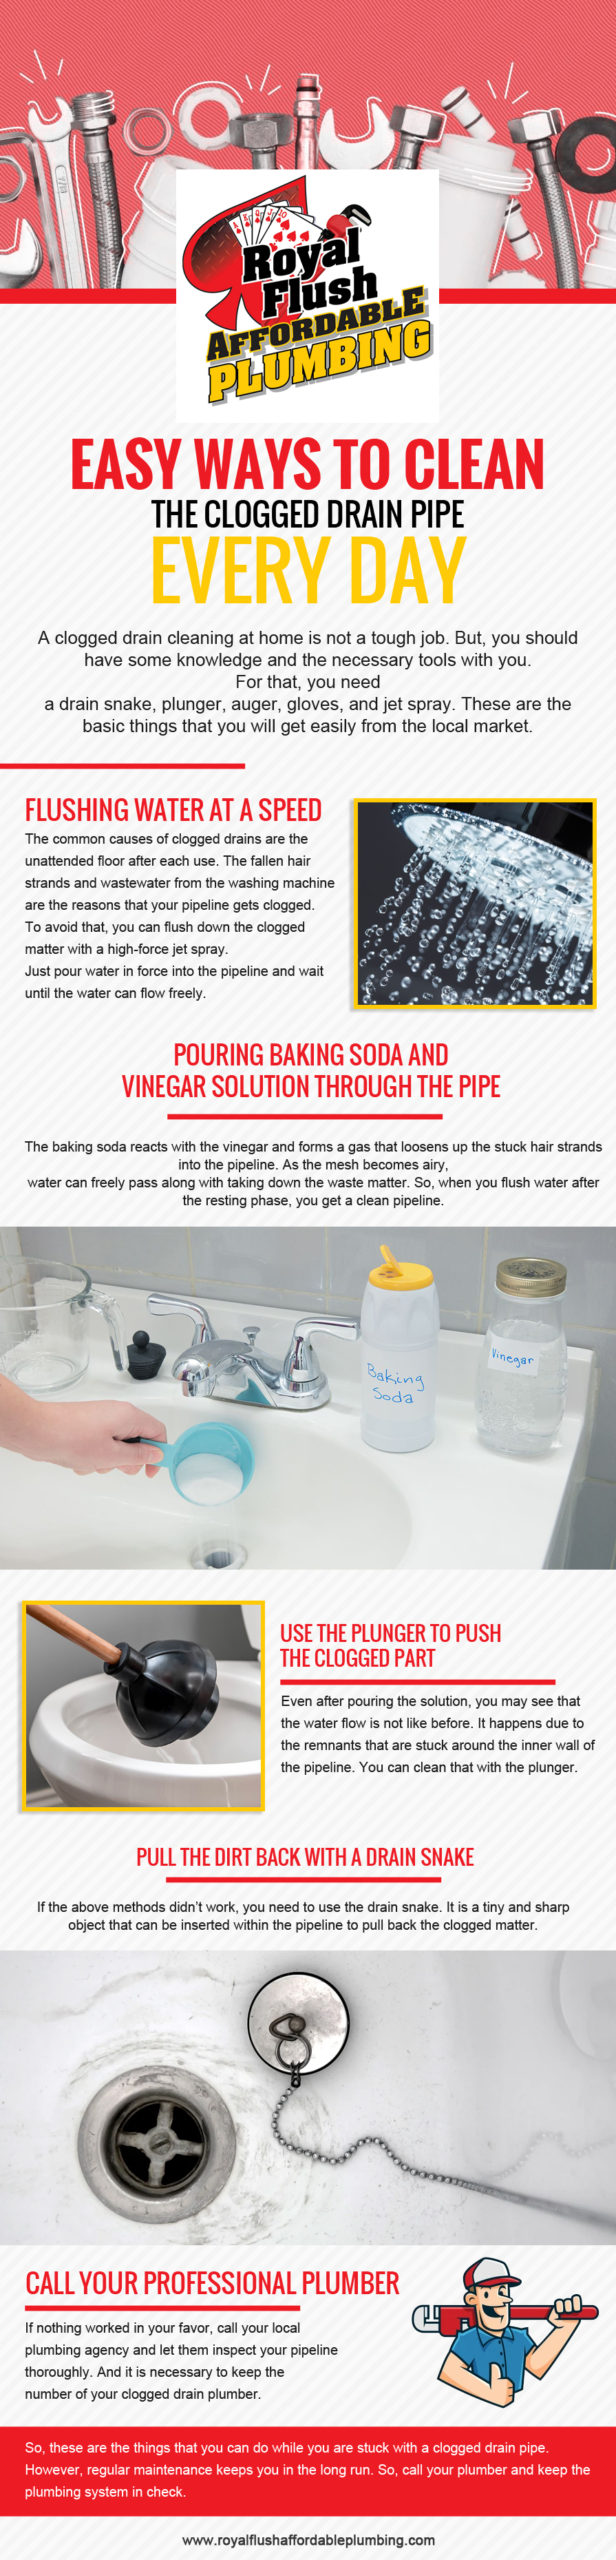
Easy Ways To Clean The Clogged Drain Pipe Every Day

5 Ways To Clean A Clogged Drain 

A clogged drain cleaning at home is not a tough job. But, you should have some knowledge and the necessary tools with you. For that, you need a drain snake, plunger, auger, gloves, and jet spray. These are the basic things that you will get easily from the local market. 

Now, coming to a solution.

  • Flushing water at a speed

The common causes of clogged drains are the unattended floor after each use. The fallen hair strands and wastewater from the washing machine are the reasons that your pipeline gets clogged. 

To avoid that, you can flush down the clogged matter with a high-force jet spray. Just pour water in force into the pipeline and wait until the water can flow freely. 

  • Pouring baking soda and vinegar solution through the pipe

One of the most effective drain cleaning hacks straight from your kitchen is a vinegar and baking soda solution. Take baking soda and vinegar in a 1:2 ratio and make a solution. Now, pour the solution through the drain pipe and let it rest for a while.

The baking soda reacts with the vinegar and forms a gas that loosens up the stuck hair strands into the pipeline. As the mesh becomes airy, water can freely pass along with taking down the waste matter. So, when you flush water after the resting phase, you get a clean pipeline.

  • Use the plunger to push the clogged part

Even after pouring the solution, you may see that the water flow is not like before.

You can clean that with the plunger. Keep the water flow on and adjust the plunger in the opening of the pipe. Now, push the plunger with the water flow. During this time, the dirt will push the force back. So, you have to keep the process going. After a few moments, you will be able to flush the entire clogged part. 

  • Pull the dirt back with a drain snake

If the above methods didn’t work, you need to use the drain snake. It is a tiny and sharp object that can be inserted within the pipeline to pull back the clogged matter. The claws in the front can grab the dirt easily.

What you are going to do is insert the drain snake until you are stuck upon the blockage. Now move the class to cling into the mesh. Once you feel that the mesh is attached to the drain snake properly, drag that out. However, for bend pipelines, this does not work.

  • Call your professional plumber 

If nothing worked in your favor, call your local plumbing agency and let them inspect your pipeline thoroughly. And it is necessary to keep the number of your clogged drain plumber. After all, you will never know when an emergency may arise.

So, these are the things that you can do while you are stuck with a clogged drain pipe. However, regular maintenance keeps you in the long run. So, call your plumber and keep the plumbing system in check. 

Things You Should Do When You Spot a Shower Faucet Leaking

Faucet Leaking

There is an issue with the shower valve if water drops or drizzles from a shower faucet. Most of the time, parts have corroded, become clogged with hard water deposits, or worn inner seals are the primary reason for a shower faucet leaking.
Additionally, with time and use, the rubber O-rings and gaskets that seal the connections between moving metal parts deteriorate.

Tips to Repair Your Shower Faucet Leaking by Yourself

Not only is a dripping, leaky shower faucet inconvenient, but it also wastes water. This rather typical home issue of shower faucet leaking may be easy to resolve by yourself before you bring in a professional (varying on the source of the confusion). Following are the steps:

Cut Off Tap Water:

At the water main, you must stop the water supply to the shower. Next, let water drain out of the faucet by opening it. Keep a towel nearby when you remove the valve to absorb the water leaking from the pipes.

Disassemble the Shower Faucet Leaking:

Whether you have a one-knob or two-knob style faucet will determine how you remove it when facing issues with shower faucet leaking. If your system has two knobs, you must swap out both valves. Use a screwdriver and crescent wrench to unscrew the valves and remove the shower faucet handles or knobs. The guard should be taken off and kept. Two nuts ought to be visible. Remove the larger of the two screws. Just unscrew one of the two screws to get to the shower stem. By turning the shower stem counterclockwise, you can remove it.

Replace the Washers:

Several washers help the shower stem function. Regardless of their condition, one should replace them all while disassembling the faucet to confirm that he has everything covered. The stem’s tail is where you should look for a rubber washer, also known as a seat washer. The remaining ones, or packing washers, are located near the stem’s center.

Reassemble the Repaired Faucet:

Clean the pipes with the solution of a cup of vinegar and water using an old toothbrush. Scrub and remove all the visible mineral deposits from the conduits. Once you’ve completed the cleaning, re-join the shower stem and reattach the knobs after installing the valves. Apply caulk around the plate to seal the area where the faceplate of the faucet touches the shower wall after you’ve reattached them.

Shower Faucet Replacement Procedure

It could be time to replace your old faucet with a new one if repairing the stopcock hasn’t stopped the drip. Even though this process could be more complex, there are situations when it is the only method to fix a shower faucet leaking. Although a qualified plumber should often do this task, a layperson can presumably also do it. Here we’ve listed the general replacement instructions for the typical faucets, as different stopcocks call for individual procedures.

Find an Alternative of the Shower Faucet Leaking:

There are numerous designs and sizes for shower faucets. Finding the appropriate replacement is necessary because not all are interchangeable. To ensure that everything is connected appositely, it’s crucial to adhere to the manufacturer’s recommendations. To choose the ideal replacement, take the old faucet with you and get a precise measurement of the holes.

Get Rid of the Old Faucet:

To gain access to the bathtub and work on its interior components many homes feature an access panel on the wall opposite the shower faucet. If yours doesn’t, you’ll need to make a cut in the opposite wall to gain access to the old faucet, remove it, and then replace it to deal with the shower faucet leaking.

Replace the Faucet:

You will align the new faucet piece with the shower pipe when installing it and use the pipe wrench to secure it to the pipe. It is essential that you carefully adhere to the manufacturer’s instructions on how to connect the new faucet.

Turn On the Water:

Restart the main water supply and look for any leaks. To confirm everything is tight and secure, try tightening any nuts and screws you find. You can follow the directions from the manufacturer. However, if you are not successfully doing the same, call a professional to fix your shower faucet leaking to save yourself the unending hassle.

Conclusion

Shower faucet leaking left unattended is not only troublesome but also costly to fix later on. Sometimes you can fix the leak by yourself without hiring an expert. However, you should be able to recognize issues that go beyond your plumbing expertise. You can avoid the negative effects of a shower faucet leaking by putting in place a temporary fix before having a professional repair. No matter how much we might want to handle a particular circumstance, sometimes our desires are constrained by our abilities. In such circumstances, you can always approach for a professional assistance from your local emergency plumber Houston.